Are you looking for a tool to help your customers pay for your products quickly, as well as save your time when you receive it?
For any online shop, it is absolutely necessary to make the payments process easier for customers. But if your customers are from other countries, it could be much more difficult.
You need to get help from a tool to do this task. By using a 2Checkout plugin, you will be able to accept payments easily.
A 2Checkout plugin is a necessary tool for any online store, business site, or local shop. It allows you to accept payments from any buyers around the world at any time.
Customers can avoid low rates and hidden fees when they process credit card and PayPal payments using 2Checkout.
Moreover, it has support for mixed checkout that allows subscriptions and products to be purchased in a single transaction.
If you prefer text over video, here is a step by step video tutorial to setup WooCommerce 2Checkout payment gateway –
Setup 2Checkout for WooCommerce
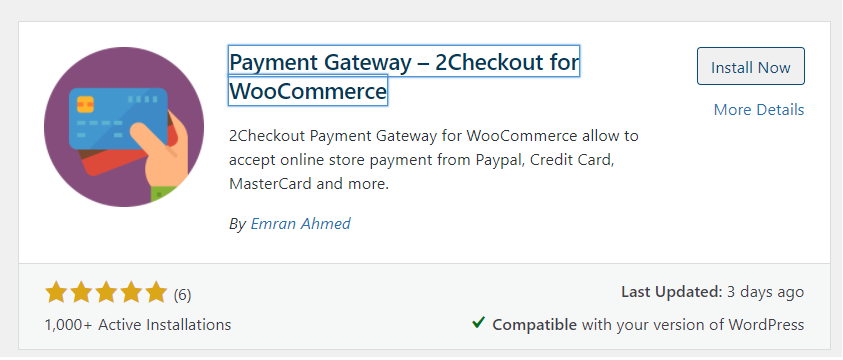
Navigate to Add New under Plugins on your WP admin dashboard.
You can follow this guide to get help on how to install a WordPress plugin.
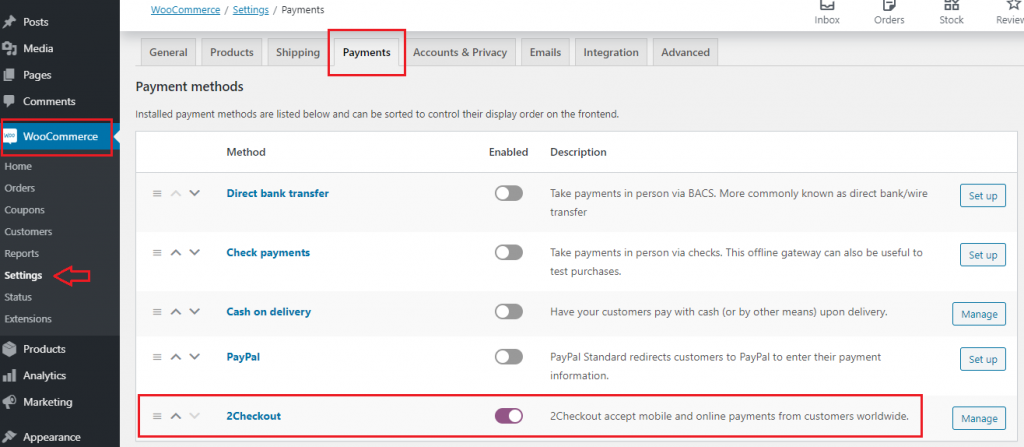
Once you have installed and activated the 2Checkout plugins, you need to enable it from settings.
To enable 2 Checkout plugin, navigate to Payments from Settings under WooCommerce, and enable the button from the 2Checkout payment method.
Create a 2Checkout account
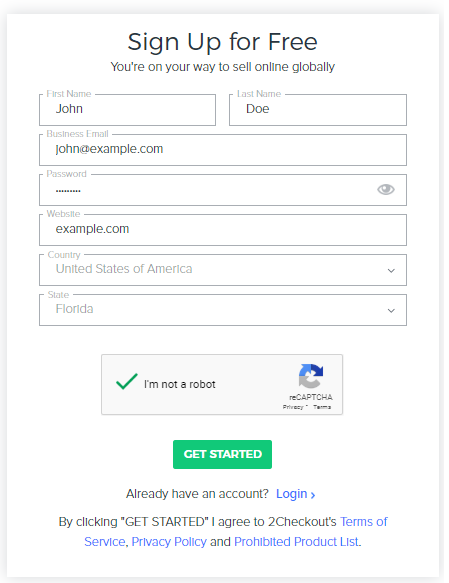
Creating a 2Checkout account is straightforward. Just head to the signup page from the given link.
Fill your name, email address, password, website, country, and click on the Get Started button.
After that, it will provide options where you need to select what type of products you want to sell with 2Checkout.
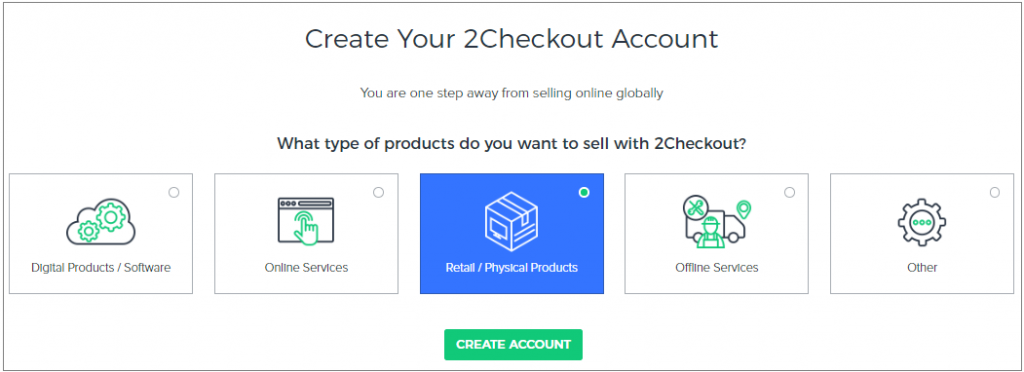
Select your purpose and click the Create Account button. For demonstration purposes, I have selected Retail / Physical products.
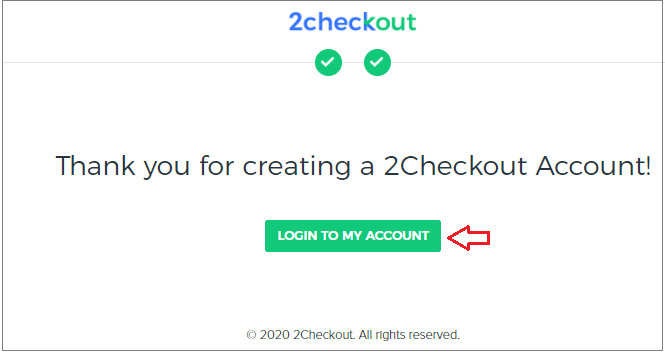
Your 2Checkout account has been created successfully. Now press Login To MY Account button to access your dashboard.
Enter the login credentials that you used for sign up 2Checkout account and a press Login button.
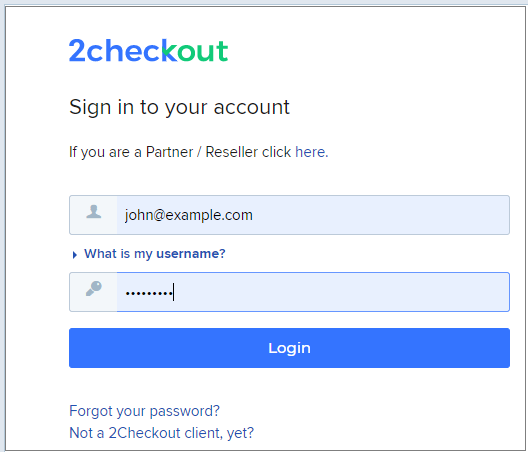
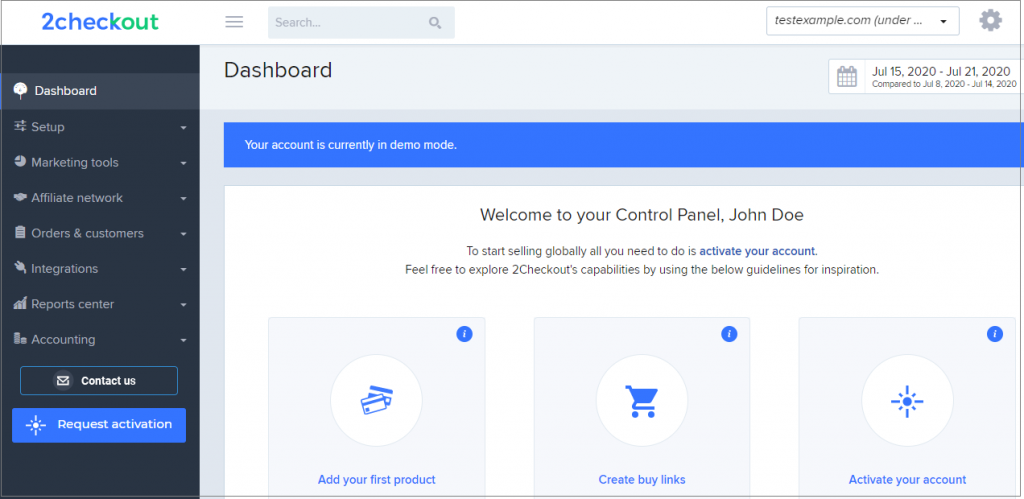
Then you will be redirected to your 2Checkout dashboard.
Link your Store details with 2Checkout
Make sure you have logged in to 2Checkout before connecting your store with 2 Checkout.
Step 01: Head to the plugin settings page.
Navigate to Installed Plugins from Plugins option. Then click on Settings under 2Checkout for the WooCommerce plugin.

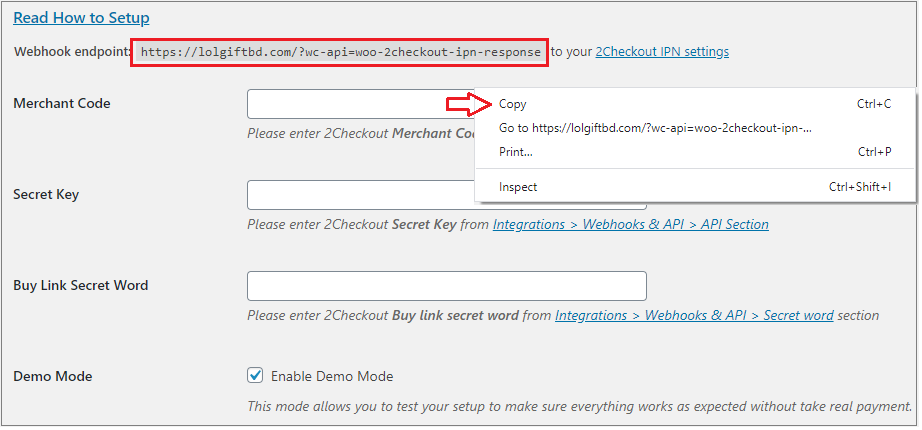
Step 02: Setting IPN URL
Copy the Webhook endpoint URL from the setting page.
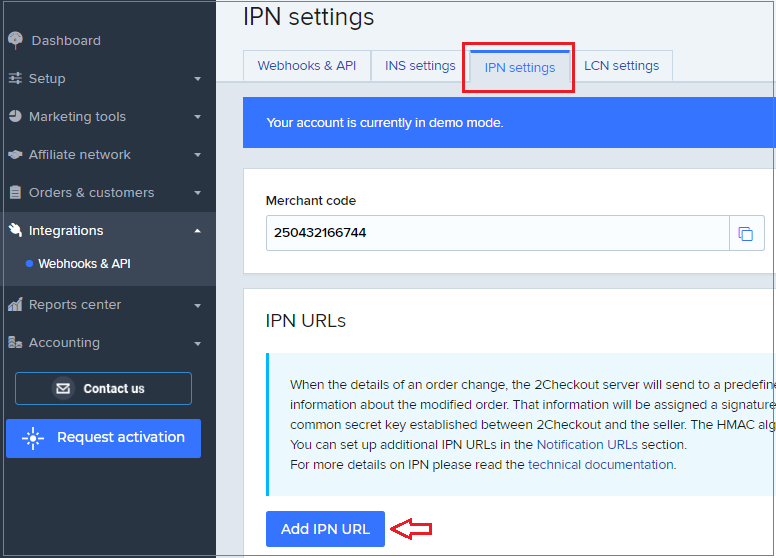
Click on the 2 Checkout IPN Settings page from the given link. You will also find the setting from the Integrations option on the 2Checkout dashboard.

Click on the Add IPN URL button from IPN settings.
Paste the URL that you have copied and click on the Add IPN button.
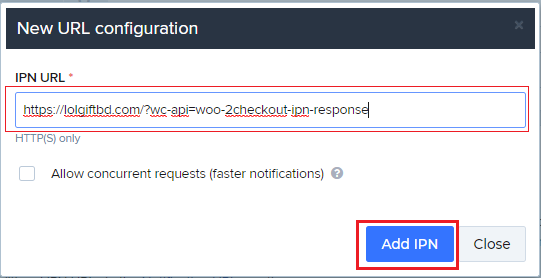
Once you have successfully added, the link will be appearing in the URL list.

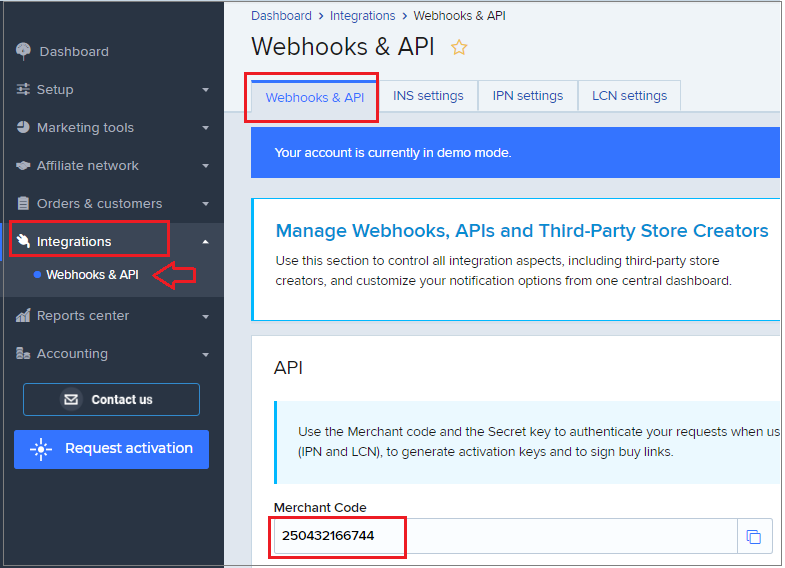
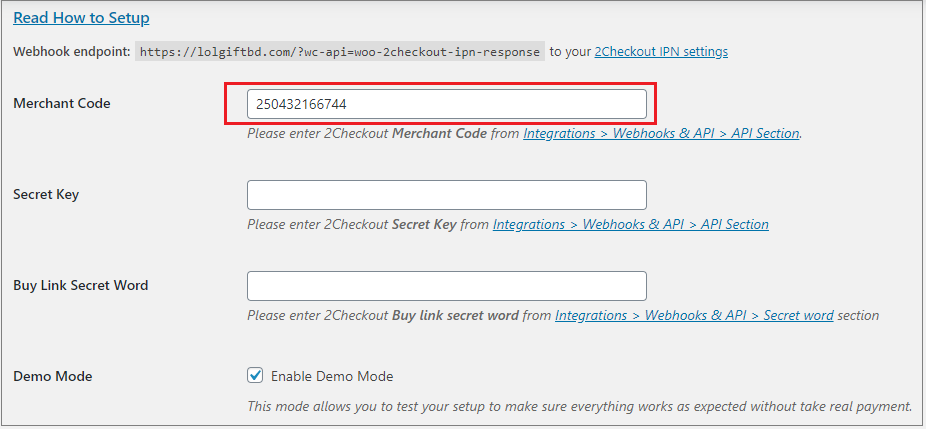
Step 03: Add Merchant Code
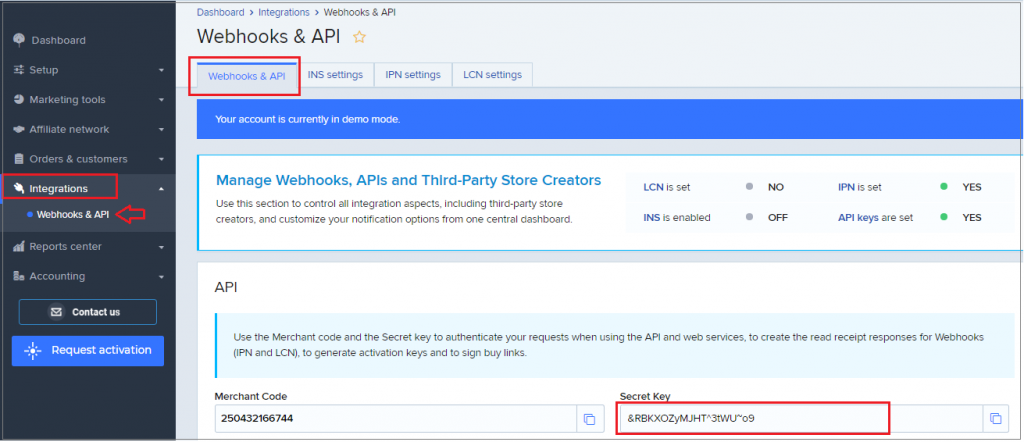
To add Merchant Code, head to the API Section from Webhooks & API under Integrations. Then copy the Merchant code from the indicated field.
Get back to the plugins settings page and paste the code that you have copied in the merchant code field.
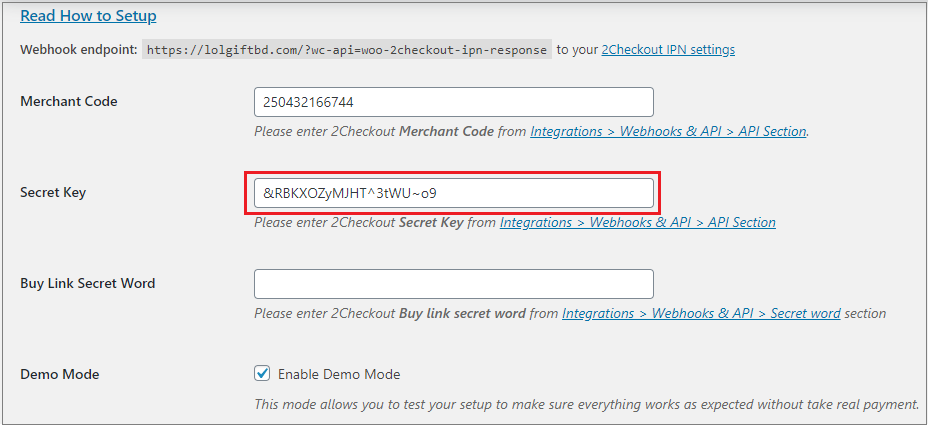
Step 04: Add Secret Key
To add Secret Code, head to the API Section from Webhooks & API under Integrations. Then copy the Secret code from the indicated field.
Get back to the plugins settings page and paste the code in the secret code field that you have copied.
Step 05: Add Buy Link Secret Word
To add the Buy Link Secret Code, head to the API Section from Webhooks & API under Integrations. Then copy the Secret code from the indicated field.
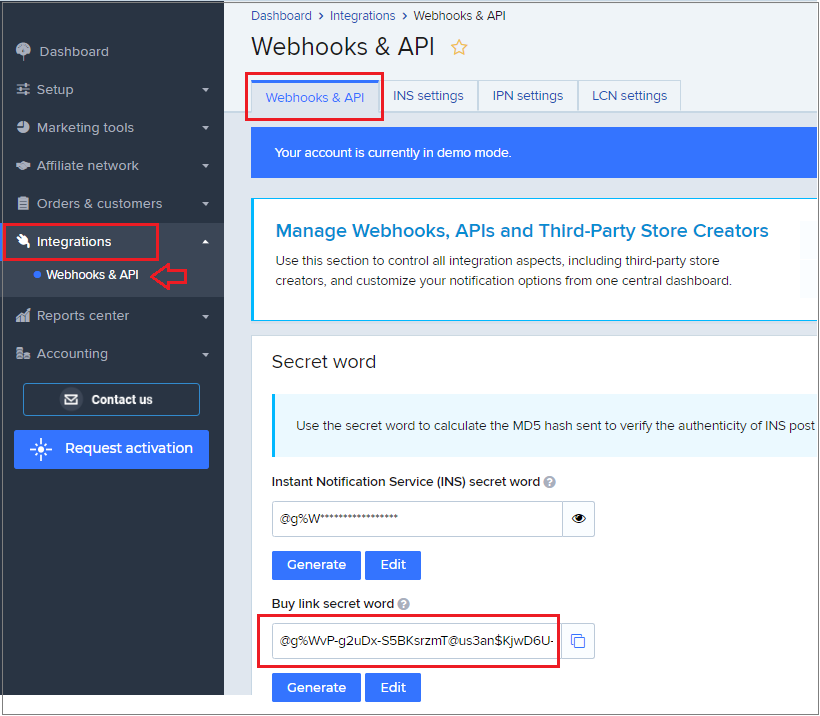
Get back to the plugins settings page and paste the code in the buy add secret code field that you have copied.
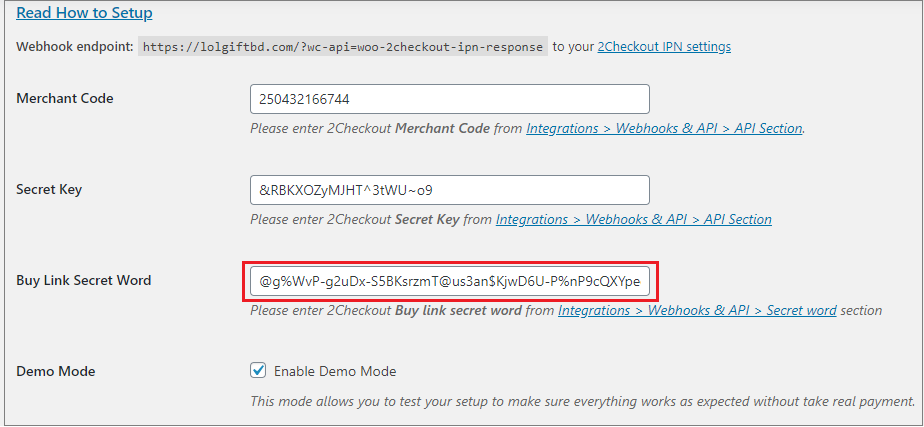
Make sure you click on the Save changes button after filling out Merchant code, Secret key, and Secret word filed.
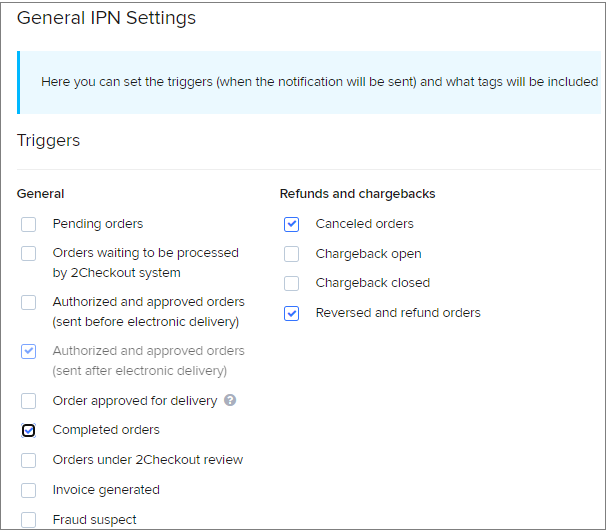
Required IPN Settings
General IPN Settings
Head to IPN settings from Webhooks & API from Integrations. Make sure you have selected the following settings.
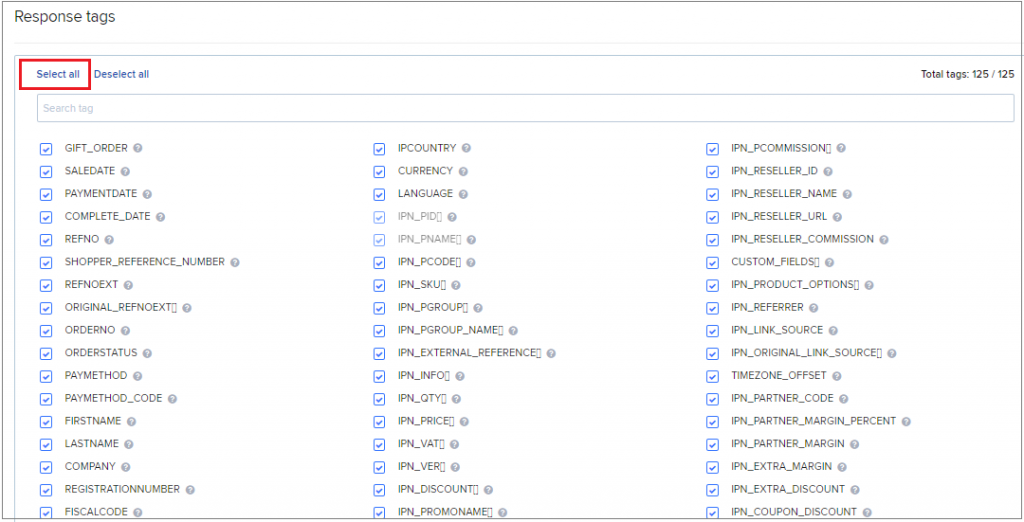
Response Tag
On the same page, you will find Response tags options. Make sure all settings are selected in the Response tag settings.
You can click on the Select all button if settings are not selected. Press the Update button once done.
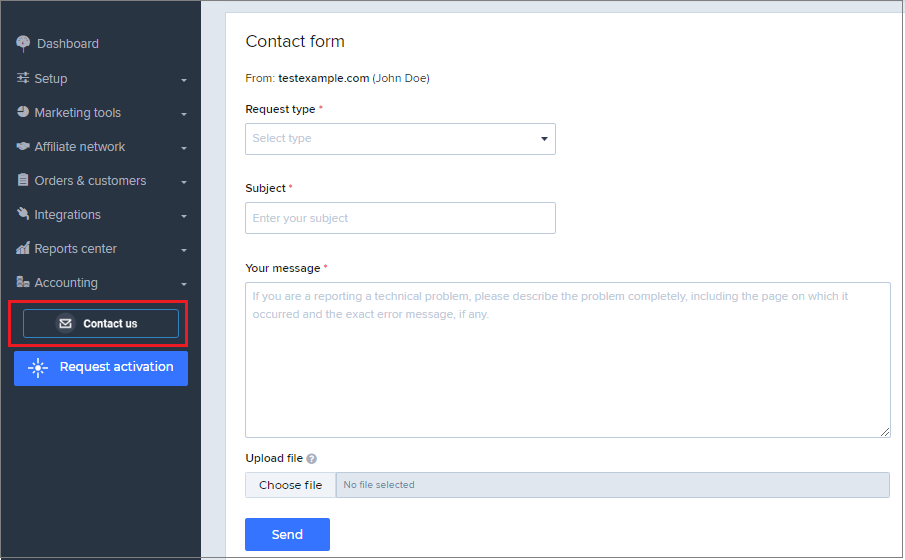
Troubleshoot
If you don’t find any required settings, you can contact 2Checkout support directly.
As mentioned above, 2Checkout has lots of benefits. It has become a vital and first choice for companies with only a few thousand dollars in monthly sales. Those want to get around some of the laws that the merchants might encounter in developing economies.