Would you like to add radio buttons to variations on your WooCommerce store?
You may want to add radio buttons for a different purpose. But when a product has a variation option enabled, a drop-down is the only choice available to select from. I am talking about the default dropdown list of WooCommerce.
Similar topics which you may find helpful:
How to Create a WooCommerce Variable Product.
How to Enable Color Variations in WooCommerce Products
Add Image Variation Swatches for WooCommerce Product Attributes.
Moreover, radio buttons are customer-friendly as compared to dropdown selects. This feature helps you to have a better UX in your WooCommerce store.
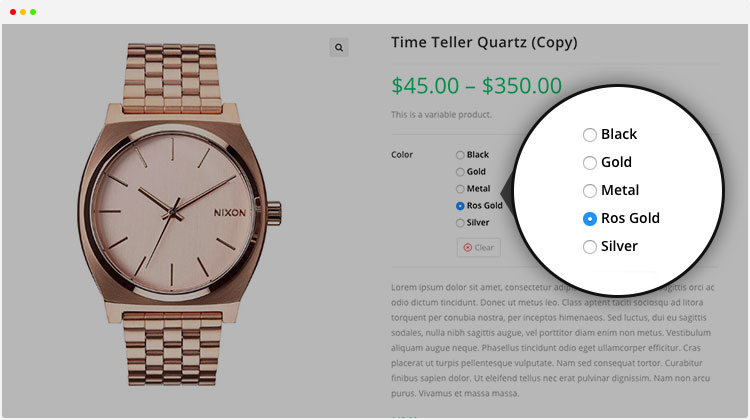
For example, you are selling the same designed T-shirts with different colors or sizes. The radio button variations is a quicker way for the user to scan all the options and choose one. In most scenarios, it’s difficult for the customers to compare in a select dropdown menu.
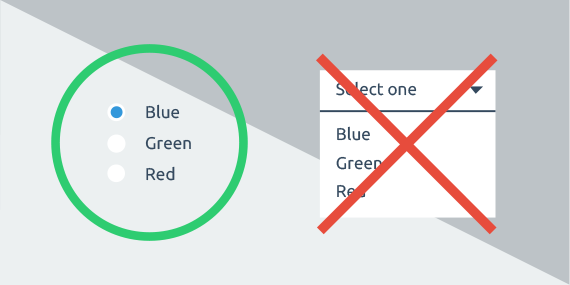
As an online store owner, you should allow your customers to see all variations without having to access a dropdown menu.
When you check the default WooCommerce, you’ll notice there is no option to enable buttons, color, images, and radio buttons.

Now you may ask, how to change the dropdown into radio buttons variations on your own store.
In general, you need a plugin.
Variation Swatches for WooCommerce:
The Variation Swatches plugin allows enabling radio swatches with ease.
You can download the free version or directly install the WooCommerce Variation Swatches plugin from the WordPress dashboard.
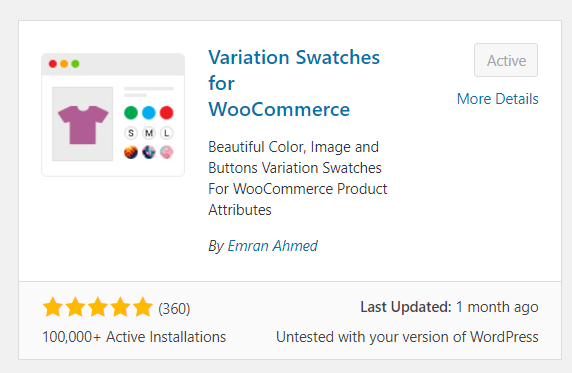
Look at the screenshot given below. The checkbox shows you options to select different features like color, image, and button.

For demonstration purposes, I have selected the ‘Button’ type for one of my variable products. You can see the view of your product frontend.
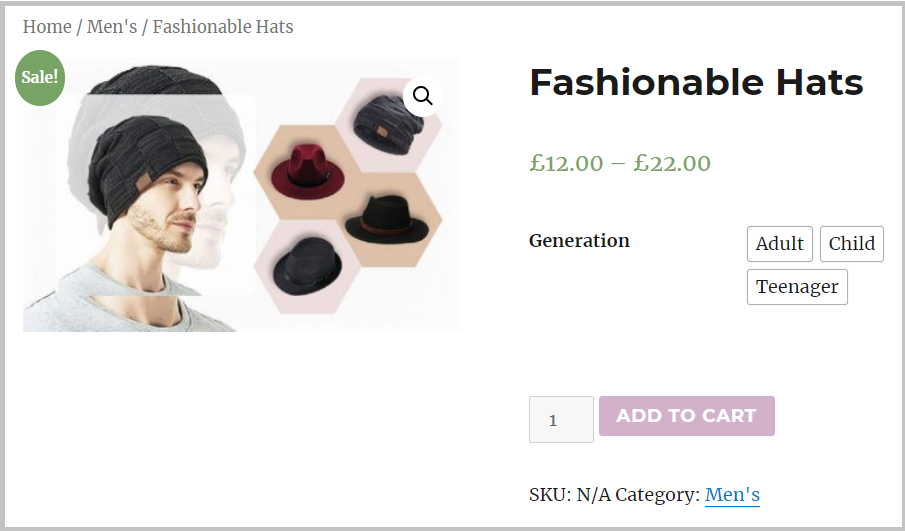
But you need to buy the premium version to enable the radio button feature.
Radio swatches feature is the premium version of the WooCommerce Variation Swatches plugin.
Configuration:
Note that: a free version of the WooCommerce Variation Swatches plugin is required to be installed. Because the premium version of the plugin is the extension of WooCommerce Variation Swatches.
This step by step tutorial shows how straightforward it is to install a WordPress plugin.
Once you have purchased the premium plugin, you have to follow the below steps.
Create Attributes:
Once the plugin is installed and activated, you can create attribute variations for your WooCommerce products. There is an option to edit existing variations as well.
- Navigate to ‘Attributes’ under the ‘Products’ section.
- Fill the ‘Name’ field, and the slug is optional. (For demonstration purpose, I have termed attribute name: Generation).
- Select your attribute type as ‘Radio‘ from the ‘Type‘ drop-down menu.

Once you have added attributes, click on the ‘Configure terms’ from the attribute list to create product variations.

Create Attribute Variations:
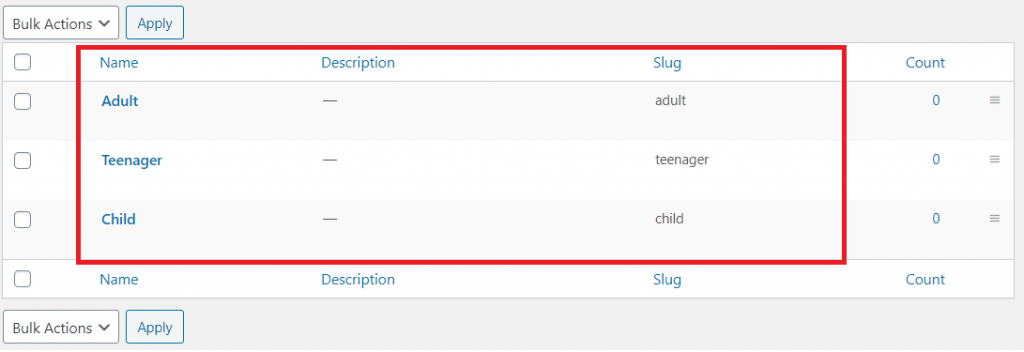
Create variations inside the radio attribute. Fill the name fill with your desired variation name. Keep adding new attributes each term by clicking the Add new button.

You can add as many attributes as you need. Here, I have added Child, Teenager, and Adult for demonstration purposes.
Customize product attribute:
Now, you’ll have to add variation specific details and customize the rest of the settings.
After that, check the view of your product frontend, once you have successfully completed all the required steps.

See, how your customers can view all the possibilities without having to scroll through a drop-down list. Your default dropdown product option will be converted into radio variations button. That’s definitely a better choice for selecting variation options.
Variation swatches for WooCommerce plugin will replace default WooCommerce product variation drop-down field and enable image, size, color, label and etc.
If you require any further information, feel free to ask in the comment section.
Leave a Reply