Table of Contents
1. Installation
To install the plugin, click the ‘Buy Now’ button from the image hotspot plugin page.

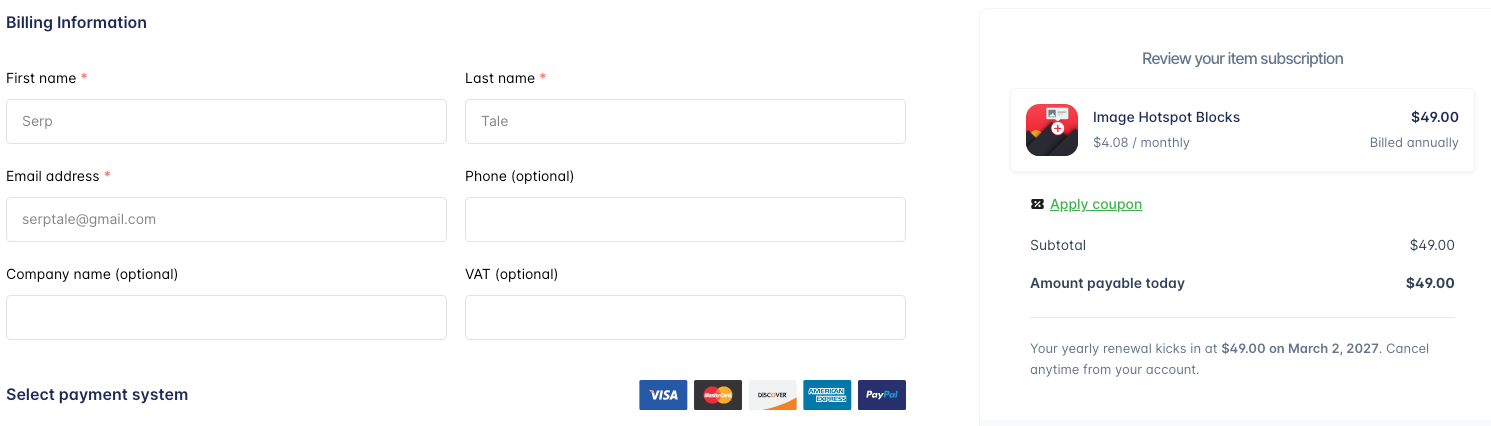
After clicking the Buy Now button, you will be redirected to the checkout page. Enter your name and email address, then choose your preferred payment method to complete the purchase.
Once the purchase process is completed, you will receive an email in your inbox containing your account details. The email will include your username and an automatically generated password to log in to your StorePress account.
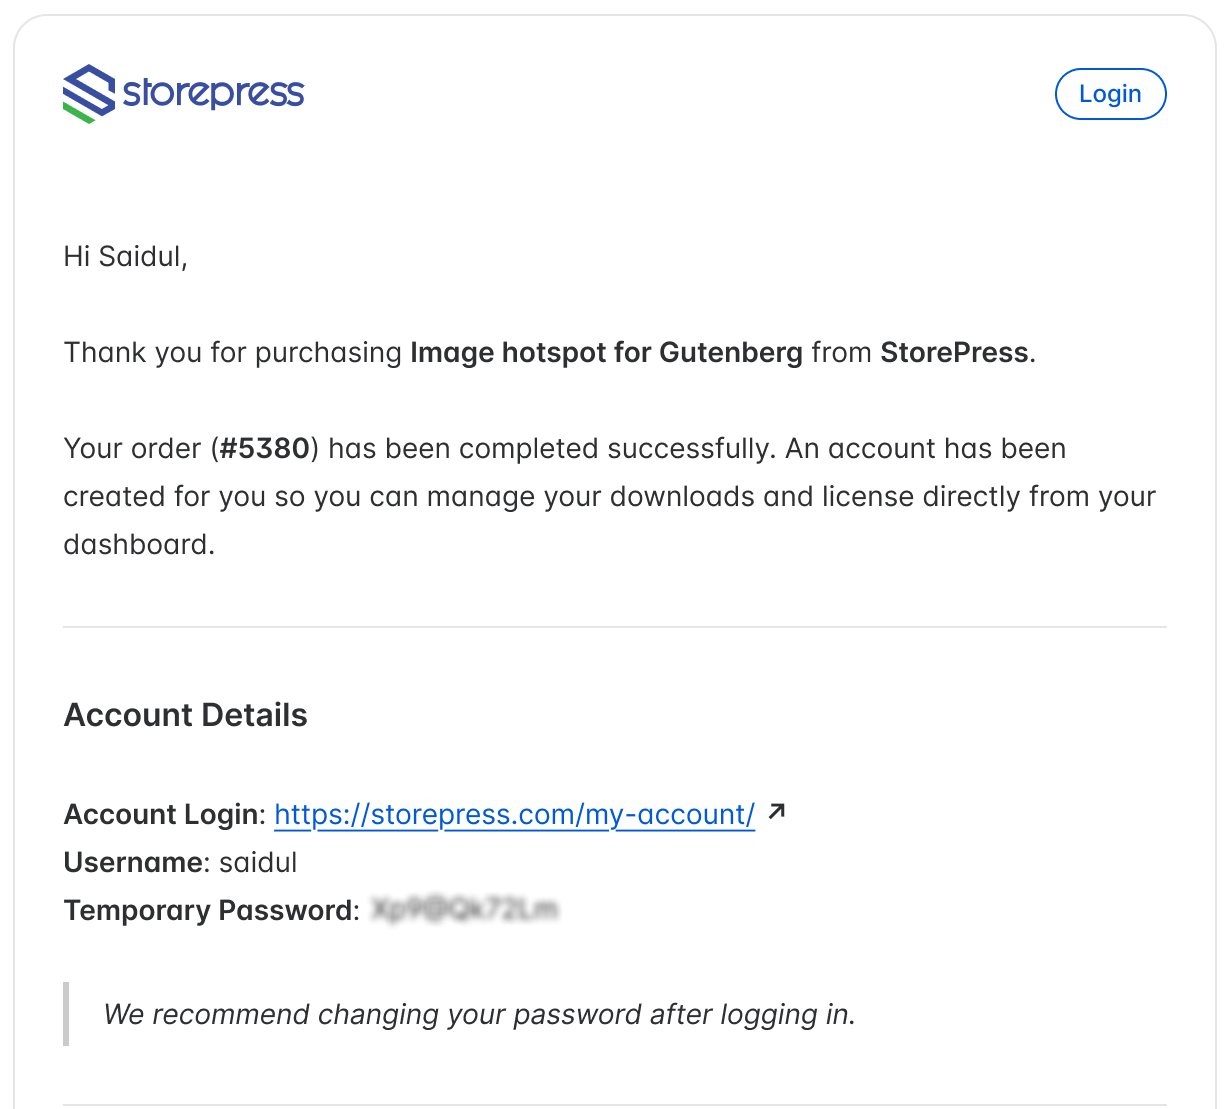
1. Login to StorePress.com website. To login you must enter your username and password that you have been sent through an email earlier.

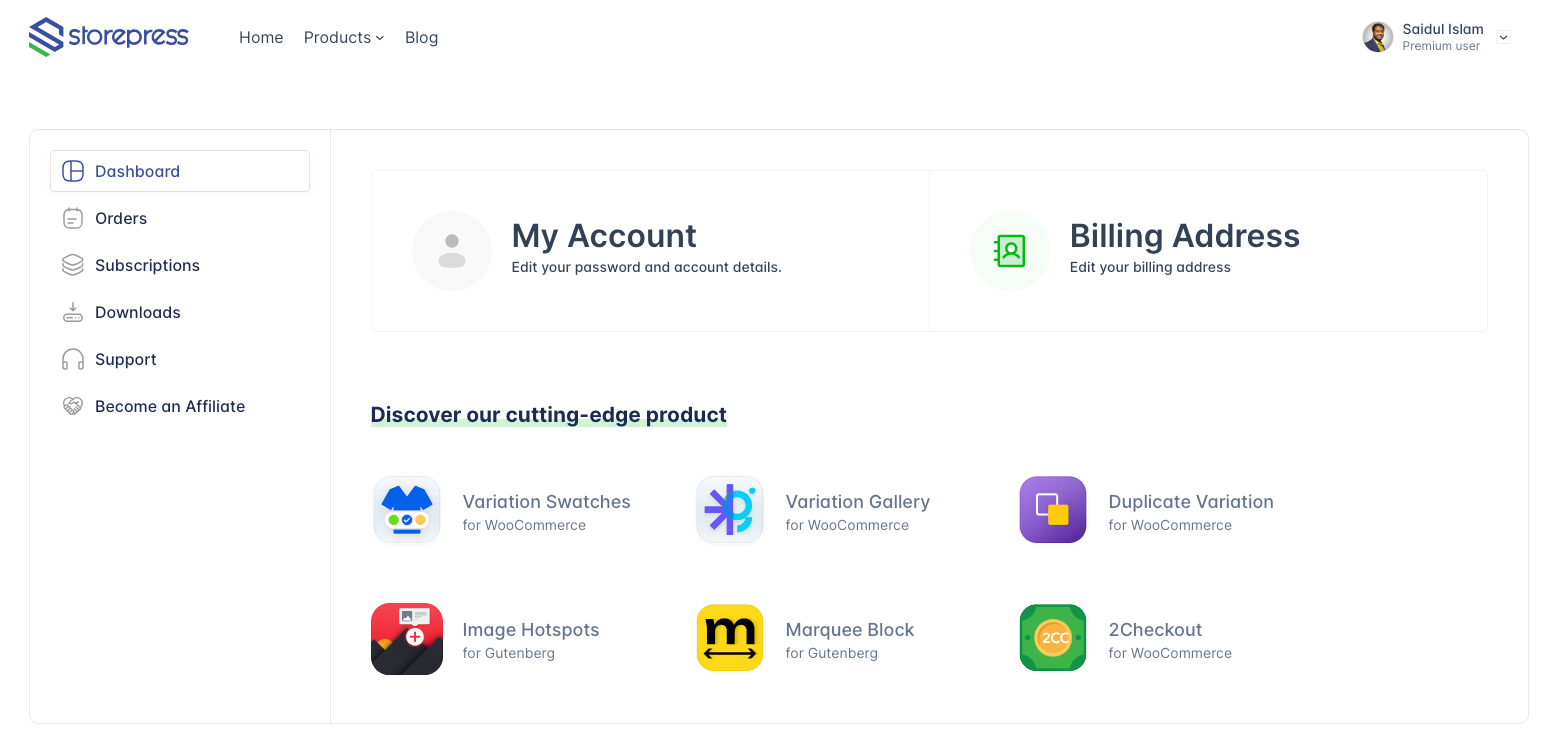
2. After login to your account, you will see an interface as the screenshot attached below.
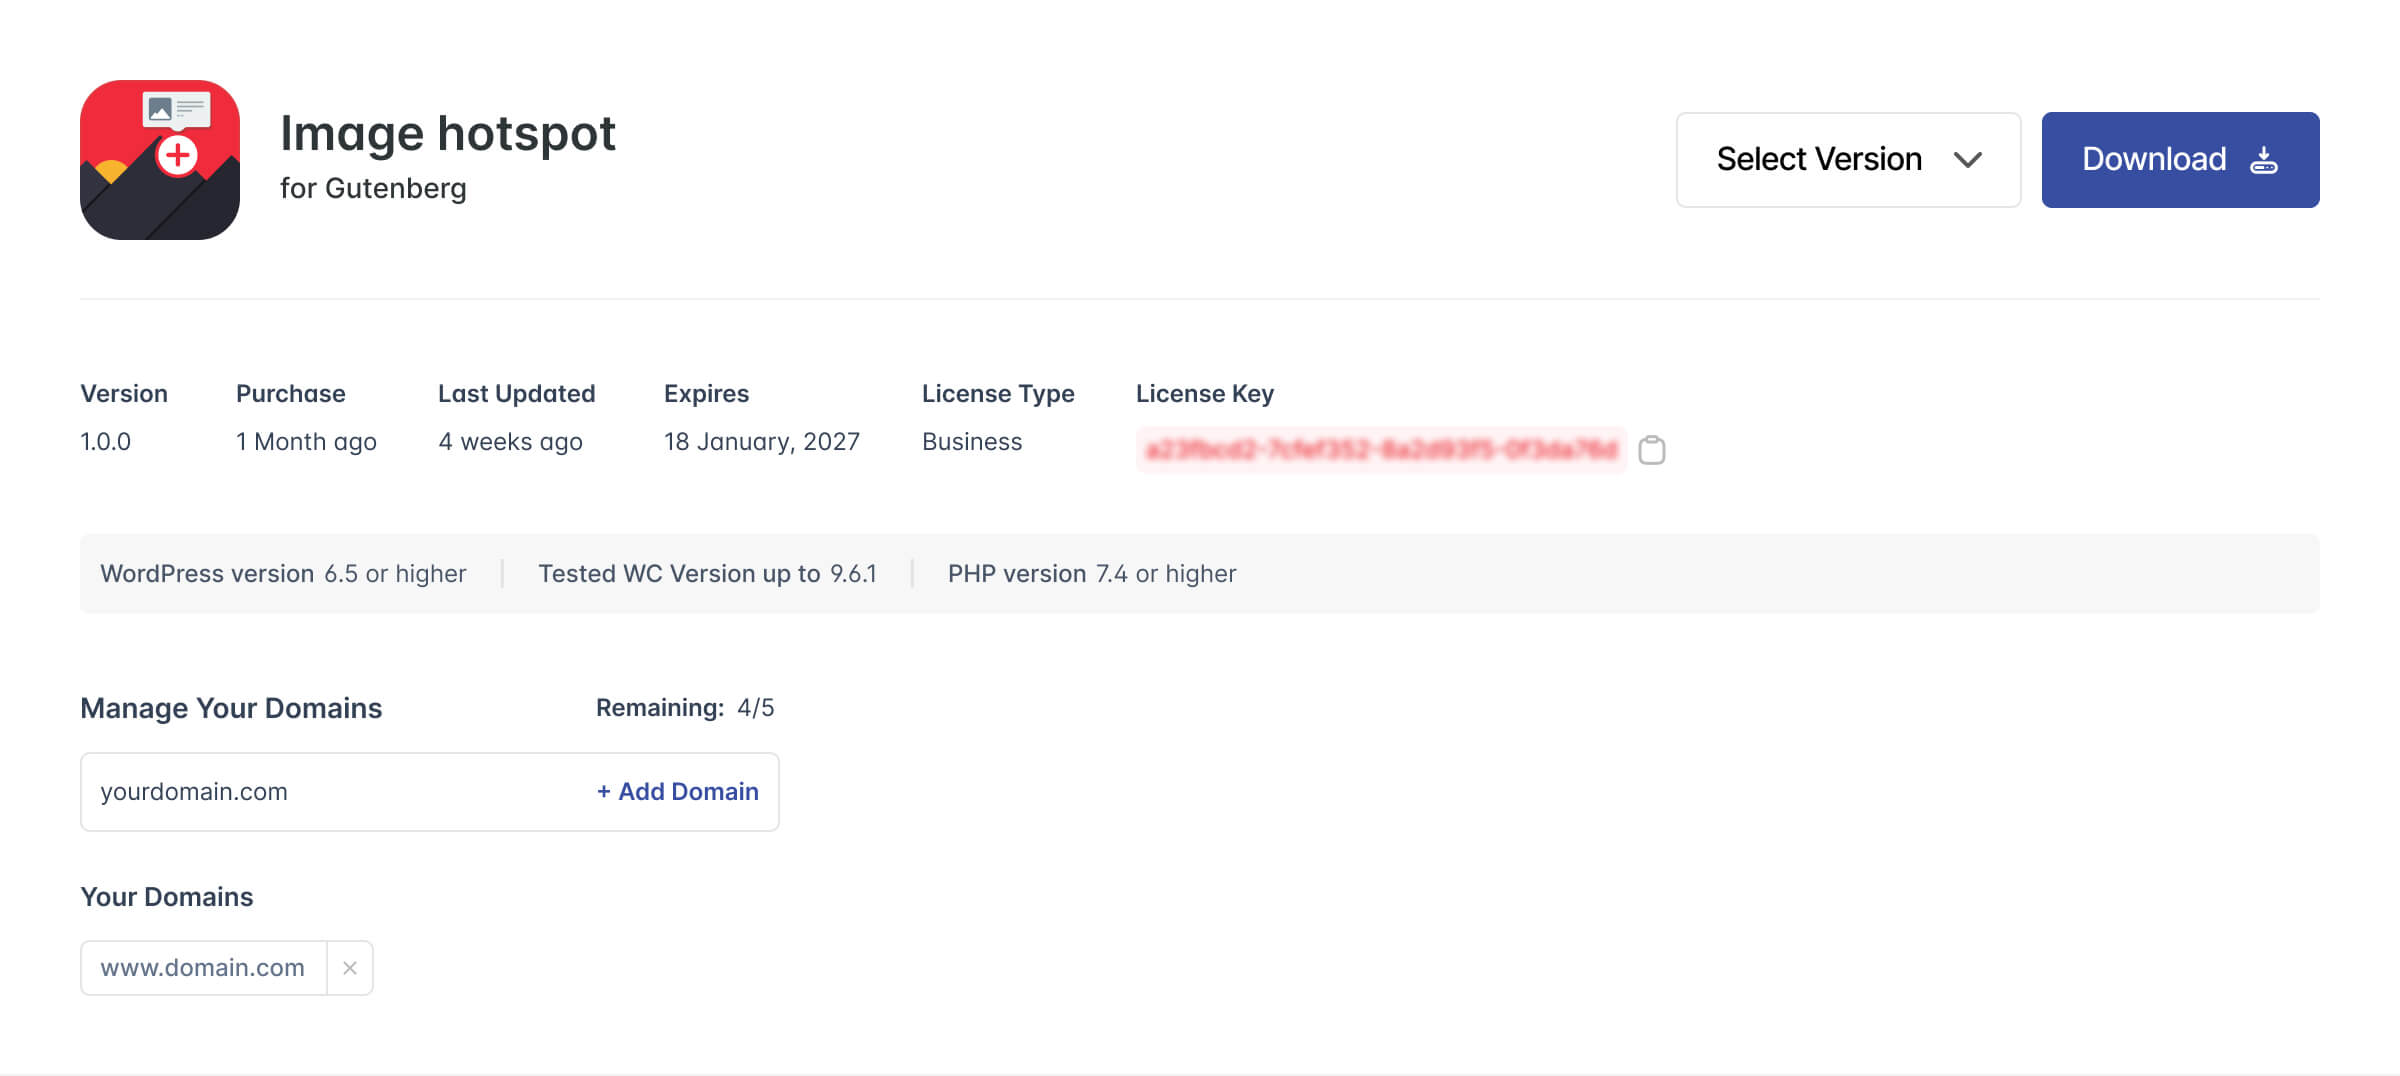
3. Click the Download button to get your Image Hotspot for Gutenberg plugin.
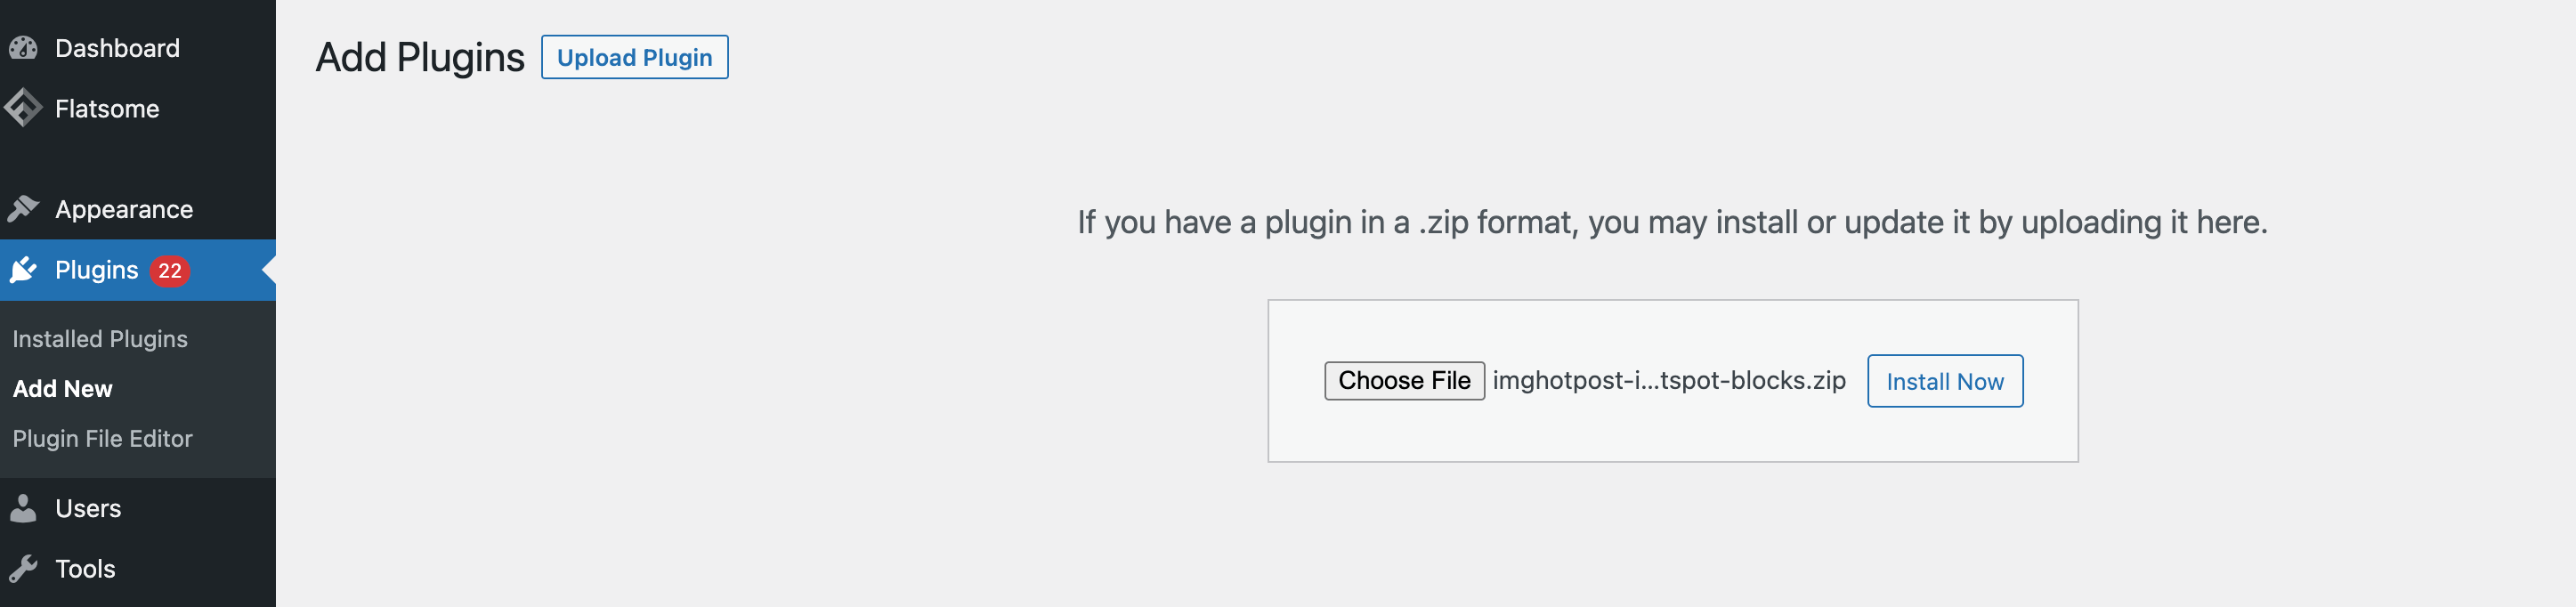
4. Now return to your WordPress dashboard, go to Plugins → Add New, and click on Upload Plugin to upload the Image Hotspot for Gutenberg file.
Select the downloaded Image Hotspot blocks ZIP file, click Install Now, and then click Activate Plugin to complete the installation.
5. After installing the pluign, It looks like the following image

2. How To Create Image Hotspot With WooCommerce Product
Step 1: Image Hotspot Popup Setup
Navigate to Pages >> Add New. Make sure the Gutenberg block editor is enabled. Type /Image Hotpost Popup.
Step 2: Select Image and Set Hotspost Pointer
Images can be uploaded from the local computer or selected from the Media Library. After adding an image, it adds a hotspot pointer automatically. To add more hotspot pointers select the pin icon and press on the image area where you want to put the hotspot.
Step 3: Select the Desired Product For the Hotspot
Press click on the Hotspot icon on the image in the editor. It will open the Hostpost Edit page. Press the Edit Pointer icon.
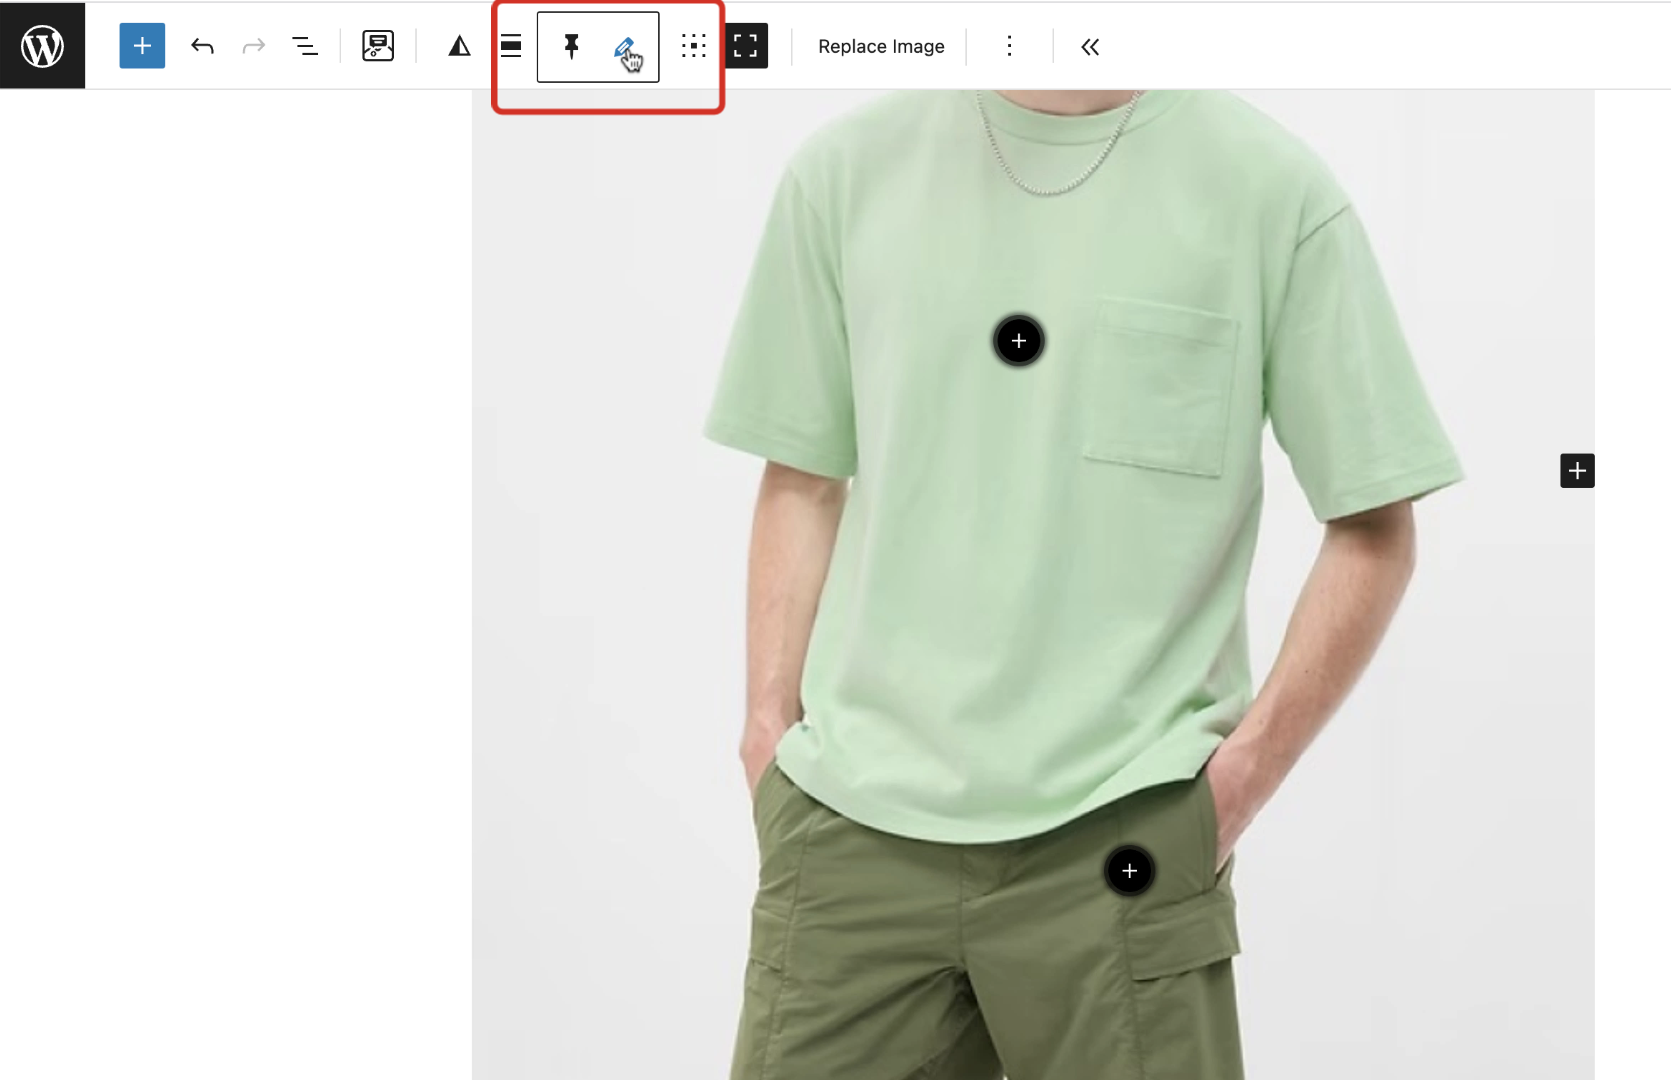
It will turn the Hotspot icon over the image into an edit icon. Press on the edit pointer icon.
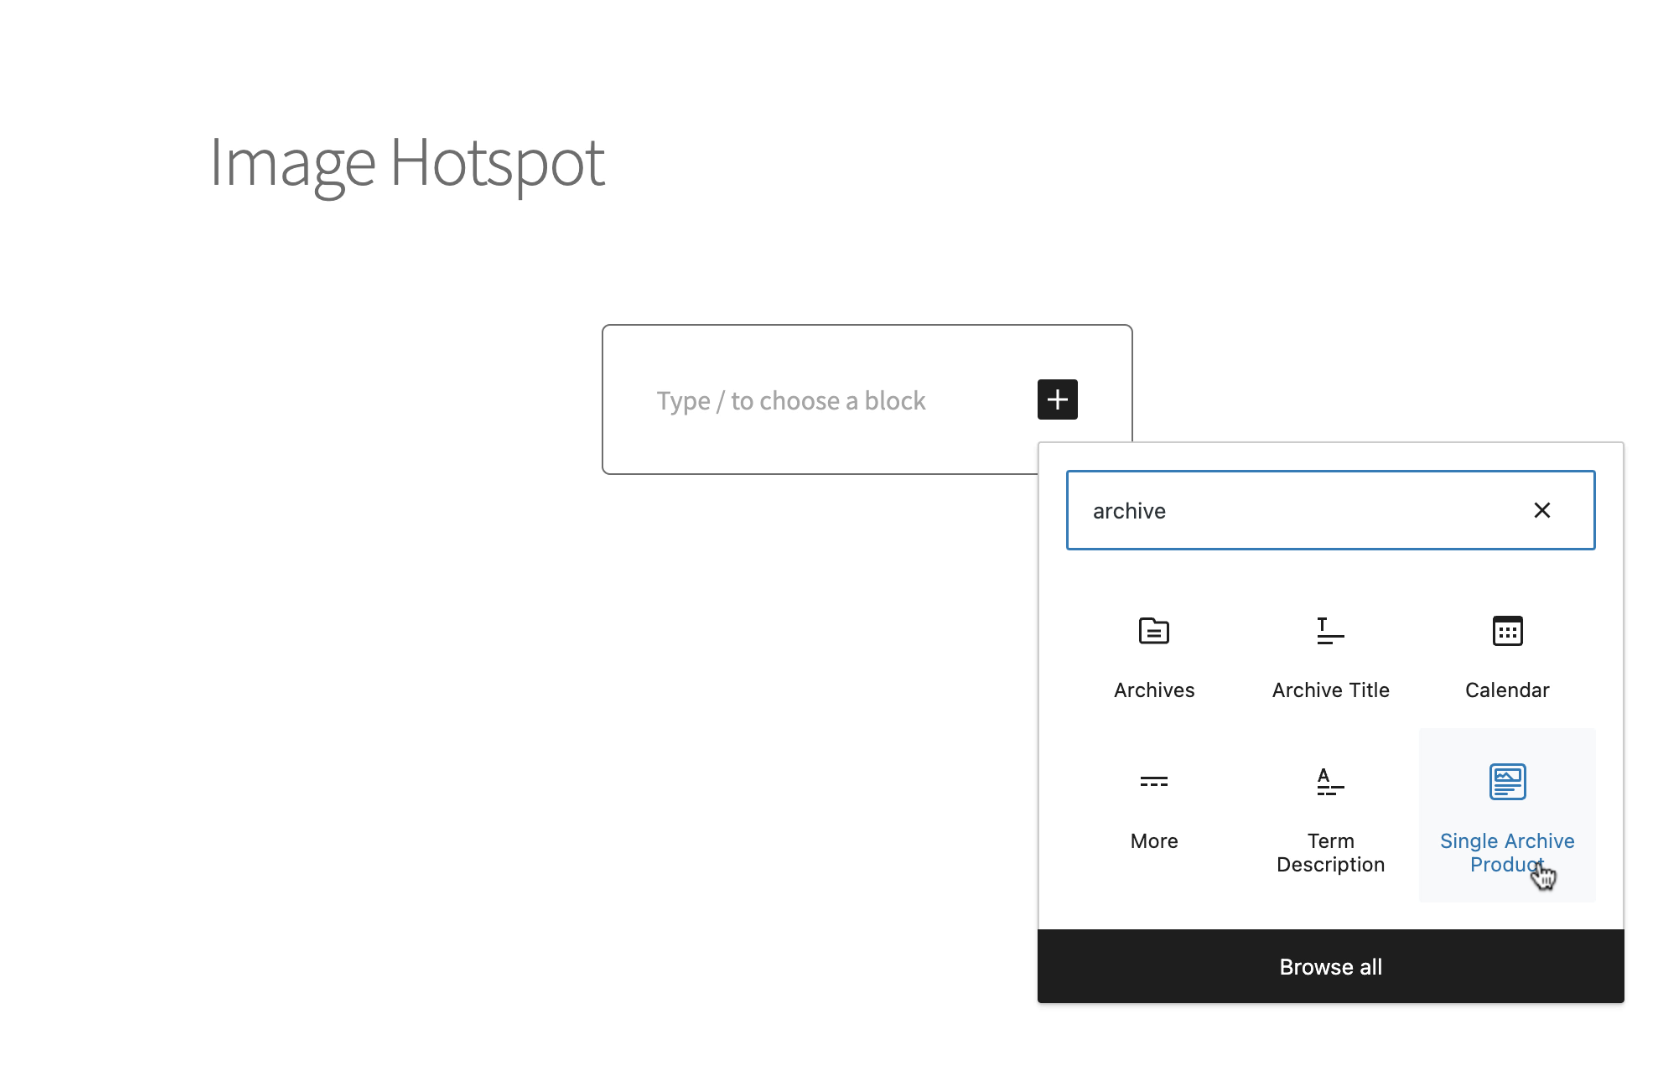
It opens a new block to add content for the Hotspot tooltip. Search for the Single Archive Product block and add it.
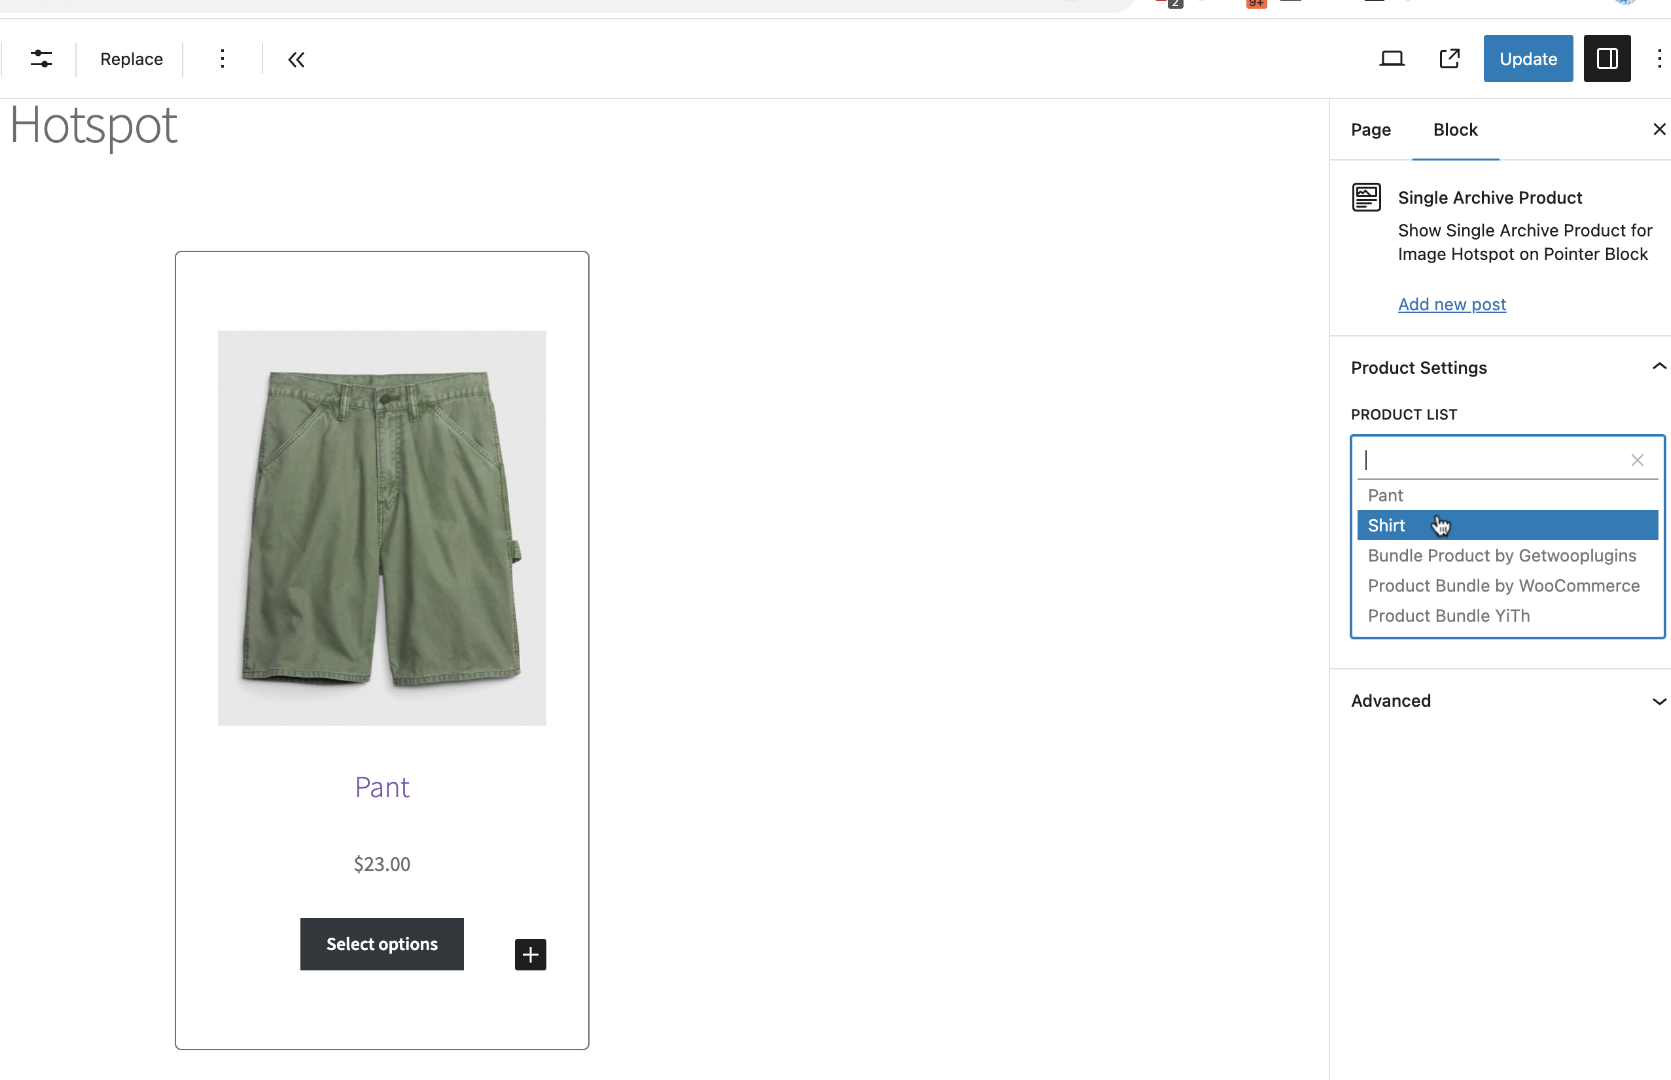
It may add a random product. The product can be changed from the left sidebar Product list.
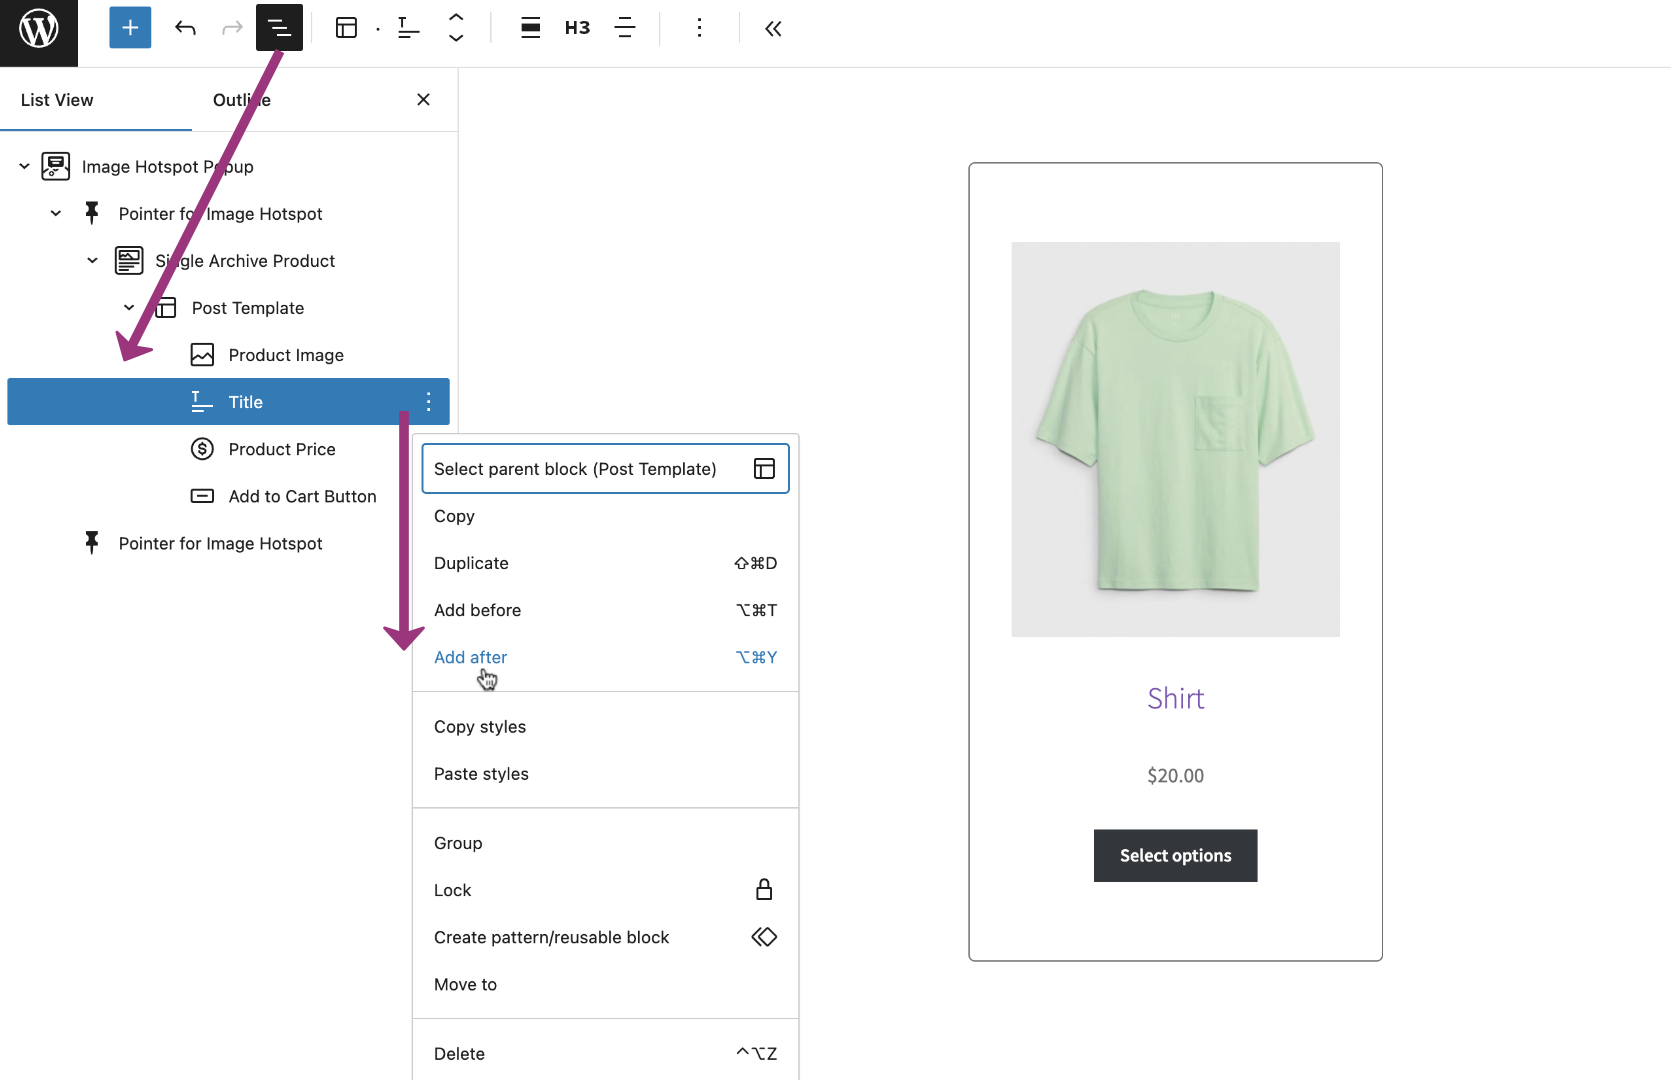
To add swatches to the variable product, activate the variation swatches plugin. And Press the Document override icon and select title of the product block. From the three dots icon press “Add After“.
Search for /Variation Swatches and select it. And add it to your desired element location.
Press the update button and head to the page frontend. Check the follow video for the entire setup journey.
3. How To Create Product Hotspot Slider